My Travel Blogging Gear: Camera, Equipment, and Apps I Use

My Travel Blogging Camera & Equipment | Laptop | Photo Storage & Backup | Editing & Writing Tools
People ask me fairly often what I use to create content for The Boho Travels — the camera, the editing apps, the workflow. I covered my blogging tools (the ones behind the scenes: hosting, email marketing, SEO) in a separate post. This one is specifically about the travel blogging gear and software I use to create the content itself — photos, writing, all of it.
I’ve been doing this on-and-off since 2012, and my setup has changed a lot over the years. Some upgrades were planned; others happened because I learned something the hard way. I’ll get into that.
One note: I only write about gear I actually own and use. If I haven’t used it, it won’t appear here. For the tools that run the blog itself, see my travel blogging tools post.
If you’re still in the ‘should I even start a blog?‘ stage, start here: how to start a travel blog and why you should.
My Travel Blogging Camera & Equipment
Everything starts here. The camera and phone I use determine what’s possible for the rest of the workflow.
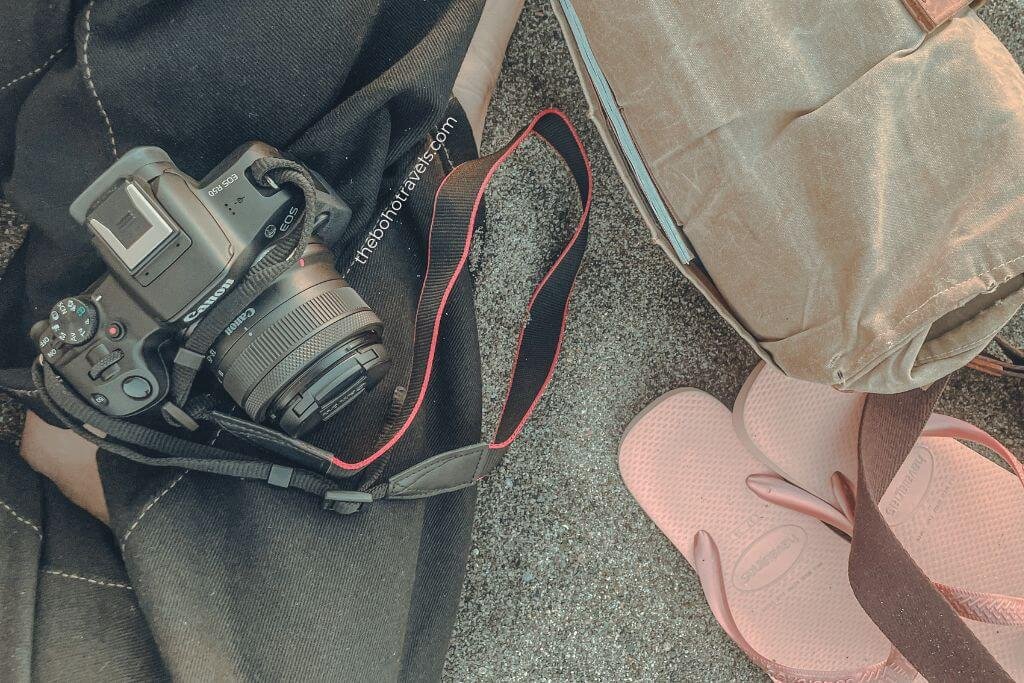
Canon EOS R50
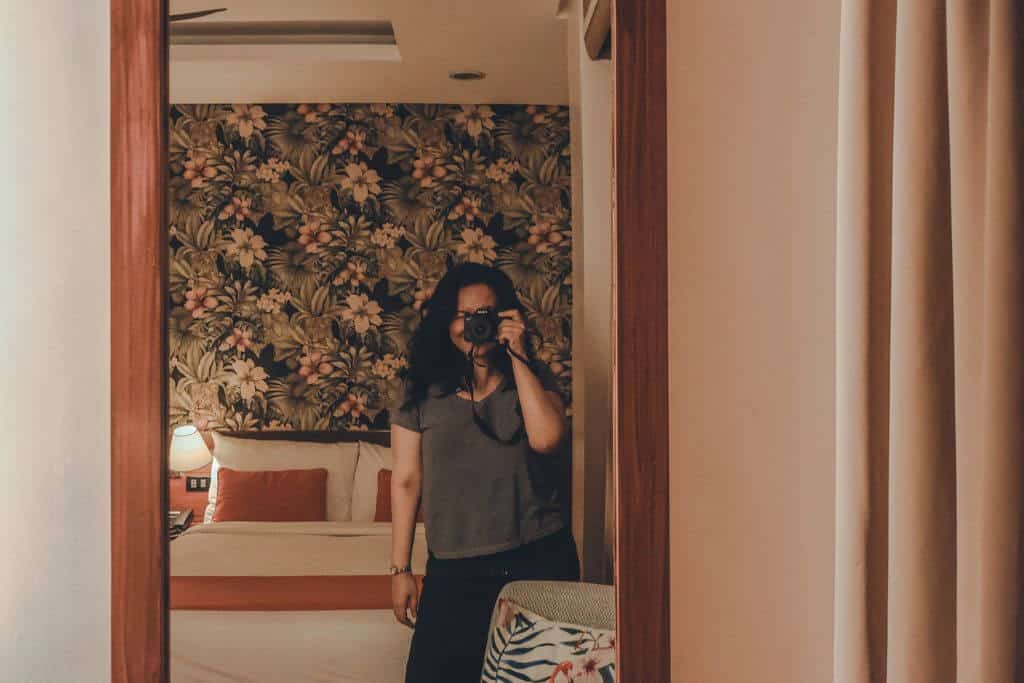
The Canon EOS R50 is my main camera right now, and it’s the one I bring on every trip where I have the bag space for it. It’s a mirrorless APS-C camera — light enough to carry all day, but it gives me the image quality and flexibility I couldn’t get from my phone alone.
I use it when I want to take high-quality photos of the destinations I’m visiting — the interiors, architecture, anything where I want control over depth of field, or I’m in a lower-light situation. The autofocus is fast, which works great for me, especially when I’m shooting on the move or trying to capture a scene before the light changes.
iPhone 12
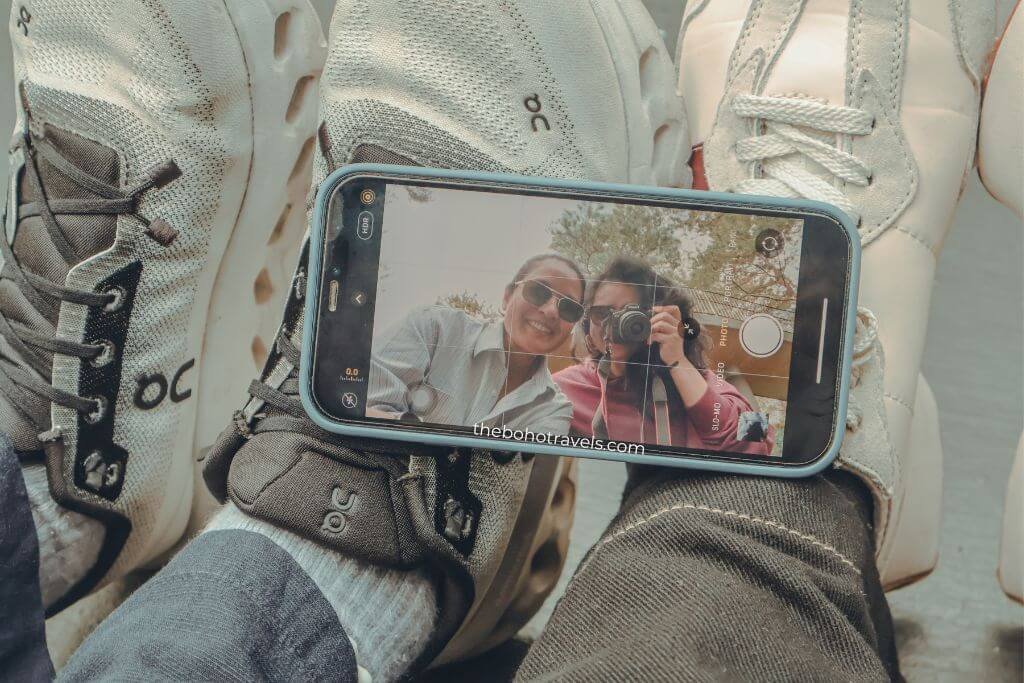
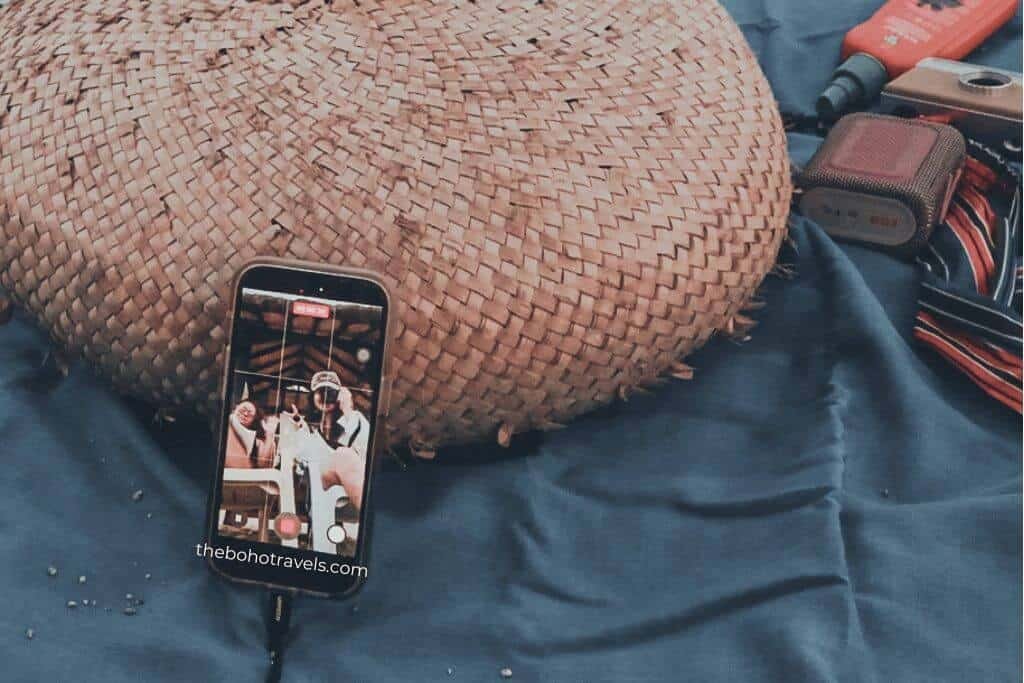
My iPhone 12 gets used more than people might expect for a blog that has a dedicated camera. I shoot with it constantly — for quick street scenes, for social media content I need immediately, for situations where pulling out a full camera would be awkward or slow.
The computational photography has gotten good enough that a lot of what I post on Instagram comes straight from my phone. It’s also the most convenient backup if something goes wrong with the Canon. I don’t think of it as a lesser option — I think of it as a different tool for different shots.
How I got here: My Camera Journey
I started with a Nikon D3000. It was a DSLR entry-level kit, and it’s what got me into the habit of thinking about a shot before taking it — composition, light, timing. Looking back, I’m glad I started there.
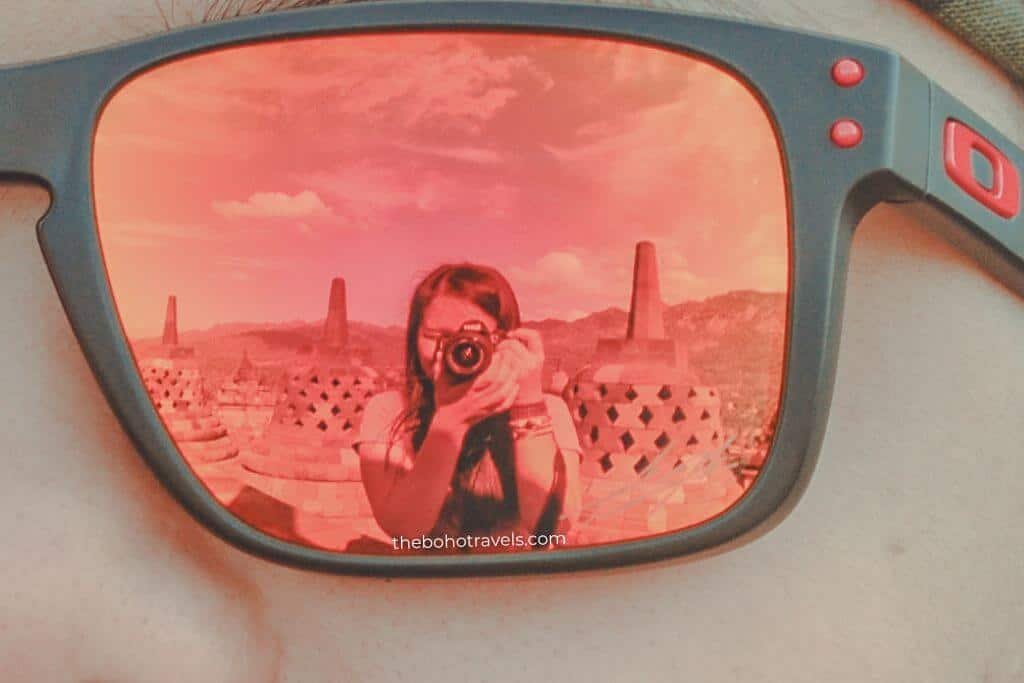
I moved to the Fujifilm XA3 after that. The Fuji was lighter, and the colors it produced were beautiful — that film simulation look that Fujifilm is known for. I used it for a long time and loved it, but I eventually wanted better autofocus and more flexibility for video.
The Canon R50 is where I’ve landed for now. Mirrorless, lighter than the Nikon, better autofocus than the Fuji. The iPhone sits alongside it, not below it.
DJI Osmo Mobile 3
Smooth video doesn’t happen by accident — especially when you’re shooting handheld on a phone. I use the DJI Osmo Mobile 3 as my gimbal stabilizer for phone video. If you’ve ever watched a walking video shot on a phone without stabilization, you know why this matters — it turns shaky, unusable footage into something smooth and watchable.
I use it specifically when I’m shooting video content on the iPhone — walk-throughs, travel vlogs, that kind of thing. It folds down small enough to pack without taking up much space, which was a big factor for me.
Amazon Basics 60-Inch Lightweight Tripod
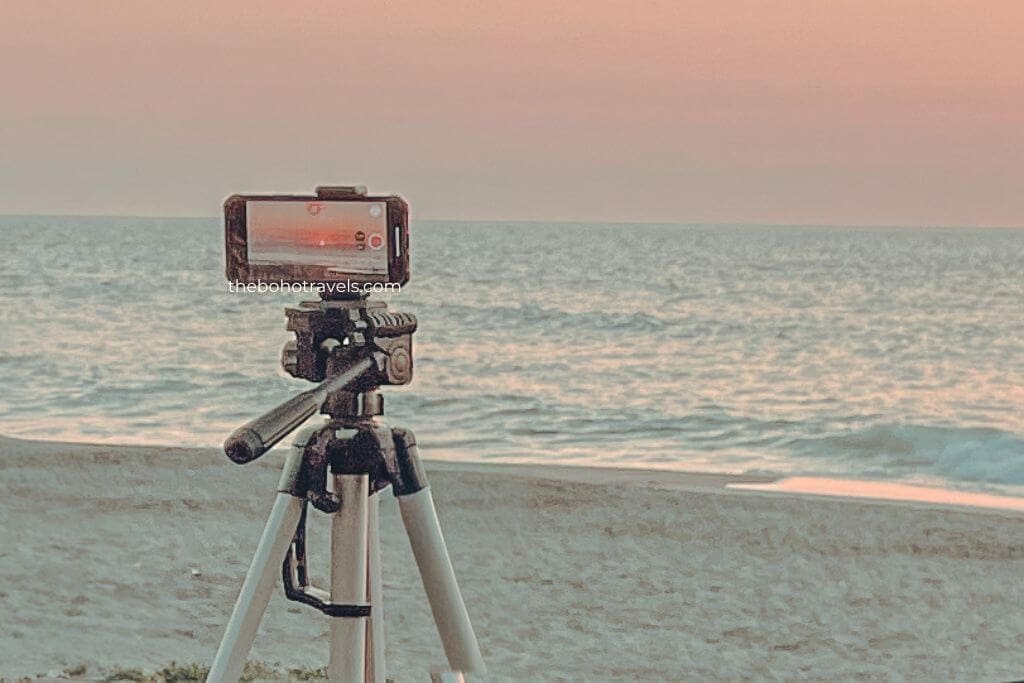
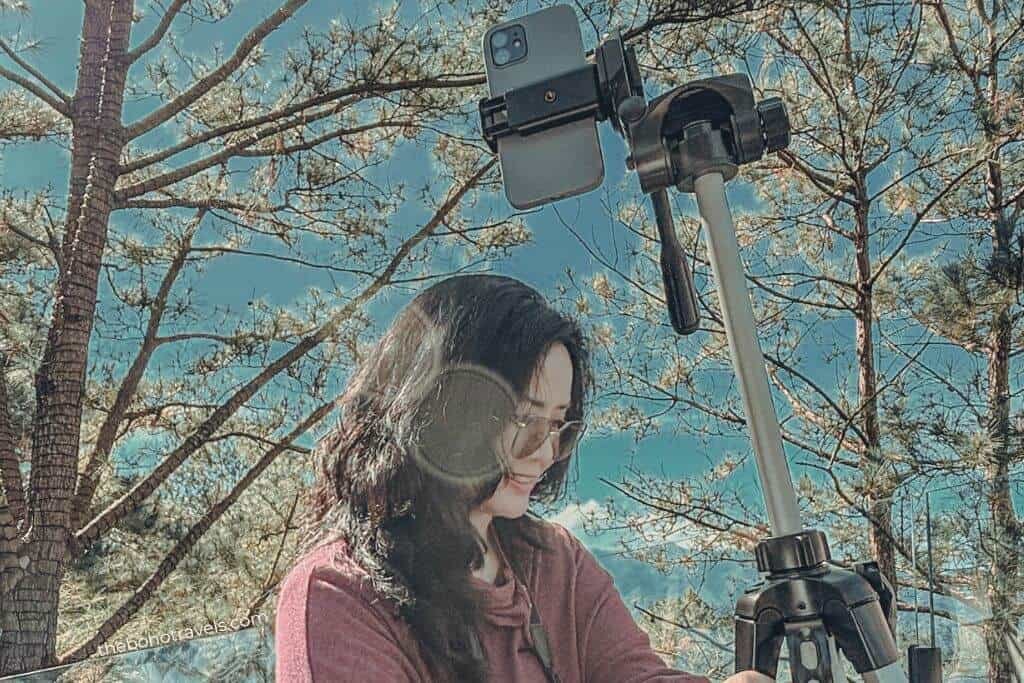
A tripod sounds like an optional extra — until you want to be in your own photos. This is the one I’ve had the longest. I use it when I need more stability or when I’m shooting somewhere crowded and I don’t want the camera sitting too low where it could get knocked over. It holds both my phone and camera well.
TNW T26
I added this tripod more recently for situations where I don’t want to carry the full-sized one. It’s small enough to fit in my camera bag, which makes it easy to bring on any trip without thinking about it. The tradeoff is height — it sits low, so I use it mostly for phone shots rather than the Canon.
Laptop
Photo editing, writing, publishing — everything eventually runs through here.
Lenovo Ideapad Gaming 3
My current laptop is the Lenovo Ideapad Gaming 3. I know — a gaming laptop for a travel blog sounds a little incongruous. But the reason I went with it is practical: I needed something that could handle Lightroom and Canva without lagging, and the Ideapad Gaming 3 has the processing power for that at a price point that made sense.
I used a MacBook Air before this. It was a good machine, but I was doing more photo editing and the Ideapad handles that workload better. No regrets on the switch, even if I miss macOS occasionally.
Photo Storage & Backup
This section exists because of a lesson I learned the hard way. I lost high-resolution photos once — a significant batch from a trip — and I haven’t been cavalier about backup since. The system I use now is more thorough than most people probably need, but I’d rather be redundant than regretful.
My Backup Workflow
- Step 1: After shooting, I transfer photos from my camera to my iPhone.
- Step 2: From my iPhone, photos sync to iCloud, which means they also download to my laptop automatically.
- Step 3: From the laptop, I back up to Lightroom (which also serves as my editing base — more on that below).
- Step 4: I keep two separate external hard drives. Both get updated whenever I’m home and have a new batch of photos to process.
It sounds like a lot of steps, but after the first couple of times, it becomes automatic. The peace of mind is worth the time it takes.
Editing & Writing Tools
The gear gets the shot. These are the tools that turn it into something publishable.
Lightroom (mobile and desktop)
Lightroom does two things for me: it’s where I edit photos, and it’s one of my backup storage locations. I use presets to keep the look of my photos consistent — the color palette on the blog is specific, and my editing reflects that.
I use both the mobile and desktop versions. Mobile is useful when I’m traveling and want to do a quick edit on something I just shot; desktop is where I do the more deliberate editing once I’m home.
Canva
I use Canva for organizing and resizing photos for the blog, watermarking, creating social media graphics, and designing Pinterest pins. It’s not a photo editing tool in the Lightroom sense — it’s more of a design and layout tool — but it handles a lot of the practical visual work that goes into running a blog.
I’m on the Teams plan — I share it with a few colleagues, which makes it the more practical option over Pro.
Grammarly (paid)
Grammarly is the one subscription I renew every year without thinking twice about it. The paid version catches things the free version misses — clarity suggestions, tone adjustments, things that would slip through if I were proofreading my own work cold.
I renew it every Black Friday. They almost always run a significant discount, and I’ve found it’s the best time to lock in another year. Same approach I use for Hostinger — if a tool you already rely on goes on sale once a year, mark the date.
Final Thoughts on My Travel Blogging Gear
You don’t need expensive or high-end equipment to get started. You need curiosity, an eye for a well-framed shot, and the ability to tell a story. The tools I share here are the ones that make content creation more efficient and effective — and because of that, they help me show up more consistently.
One more thing — if you’ve been preparing to start creating content but haven’t published anything yet, I want to say this directly: just get started. I know people who have invested in great gear, learned to shoot well, and can create genuinely beautiful content. But it never goes live because it’s never quite perfect. It won’t be. But what you can put out right now is good enough — and good enough published beats perfect sitting in a folder.
If you’re looking at the side of things that runs the blog — hosting, email marketing, SEO tools — I covered all of that separately. See my travel blogging tools post.
Still haven’t set up your travel blog? Here’s how to start your own travel blog and why I encourage you to do it now. You can also download your travel blog launch checklist here.